Applying a CGM Sensor and Keeping It On Through Indian Heat and Monsoon
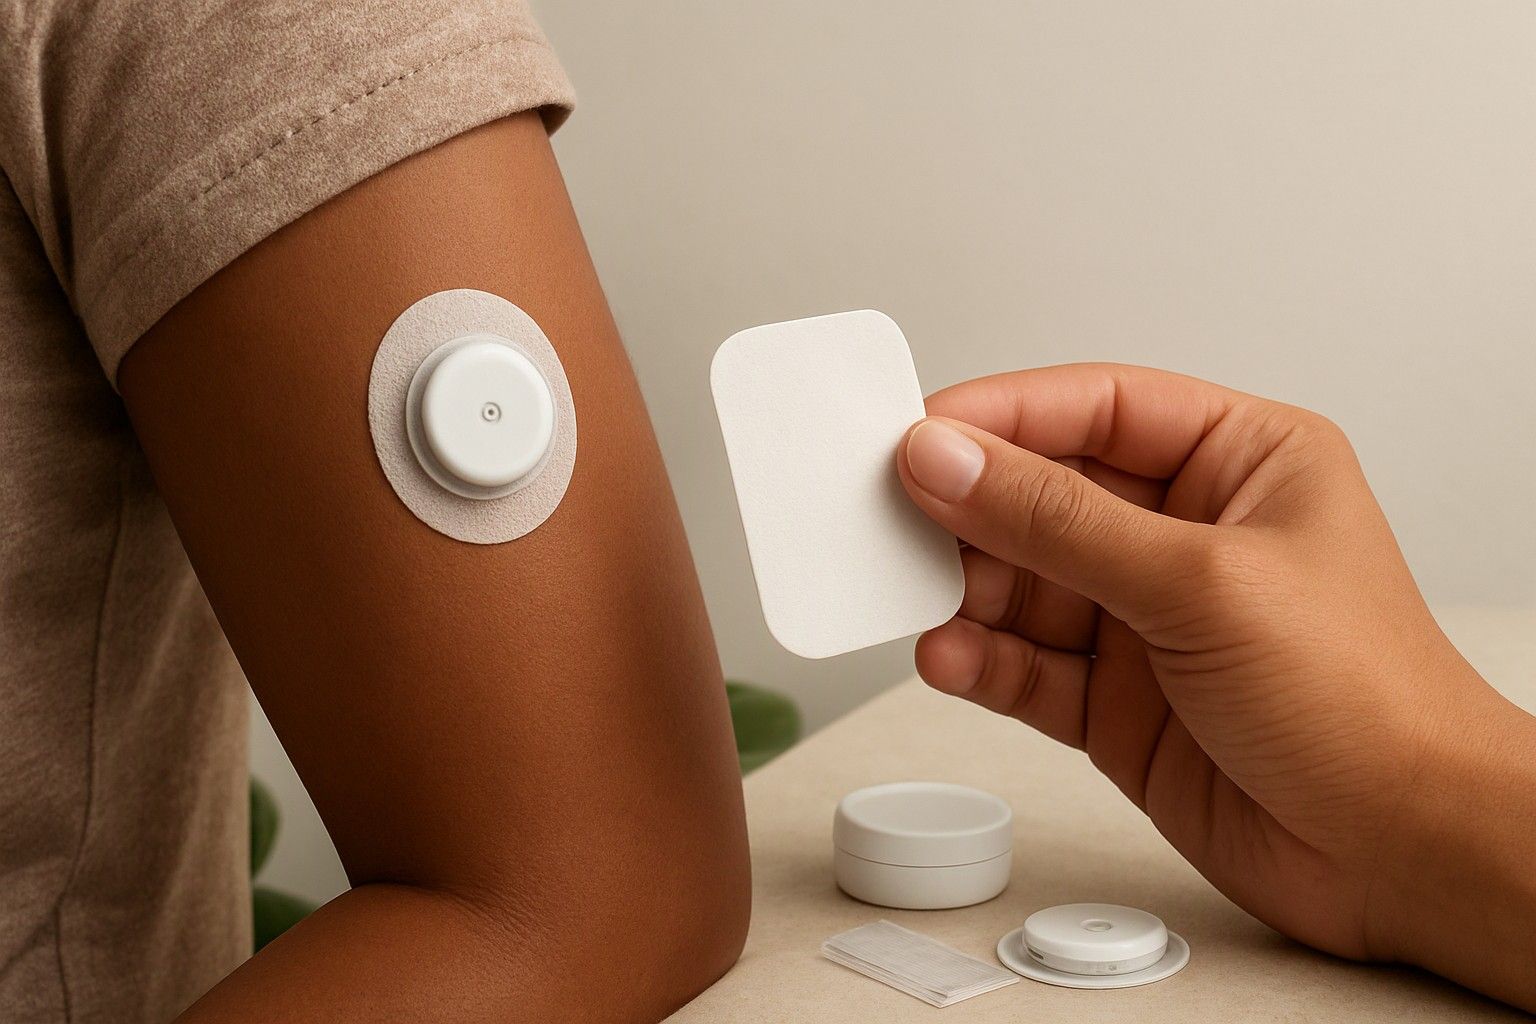
If your CGM sensor keeps peeling off before its wear life ends because of sweat, humidity or a rainy commute, this article is for you. Indian summers and monsoons are hard on adhesive, and every sensor lost early is money gone. Below is a practical routine for applying a sensor, keeping it on, and claiming a replacement when it fails anyway.
Choosing the Application Site on the Arm
Most CGM sensors are designed for the back of the upper arm, so start there and follow the placement instructions that come with your sensor. Within that area, pick a flat, fleshy spot away from the elbow crease and the armpit, where skin folds and rubs constantly. In humid weather, sweat pools in those folds and loosens adhesive within hours.
Avoid areas where your sleeve seam, bag strap or watch band presses on the sensor. Think about which arm you sleep on, since lying on a fresh sensor can knock it or trigger false low readings. Many people also avoid the arm they use to lean on a desk or two-wheeler handlebar all day.
Also avoid scars, moles, stretch marks and any skin that is irritated, sunburnt or has a rash. Rotate between the left and right arm with each new sensor so one patch of skin is not stripped and stressed repeatedly. Healthy skin holds adhesive far better than tender, over-used skin, so rotation is part of adhesion, not just comfort.
Skin Prep Before Applying the Sensor
Adhesive sticks to clean, dry, bare skin, and most failures in Indian conditions start with skipping one of those three. Wash the area with plain soap and water, or use an alcohol wipe, and then let it dry completely. Wiping and applying while the skin is still damp traps moisture under the patch, which is the most common reason sensors lift at the edges.
If the site has hair, trim or shave it a day ahead rather than just before application, which reduces irritation. Hair under the adhesive weakens the grip and makes removal painful.
Keep body lotion, sunscreen, coconut oil and moisturiser away from the site for several hours before you apply. Even a thin film of oil stops adhesive from bonding. If you apply right after a bath, wait until your skin has cooled and stopped sweating, since a fan or a few minutes in an air-conditioned room helps.
Press the sensor firmly in place as per the instructions, and then hold gentle pressure over the adhesive for several seconds so it settles against the skin. Avoid a hot-weather rush: a calm two-minute application saves a sensor.
Overpatches, Sweat and Monsoon Humidity
An overpatch is a separate adhesive cover placed over the sensor to hold it down. It is the most useful fix for people who sweat heavily or live in coastal or monsoon-heavy cities. It adds a second layer of grip, and it protects the edges, which is where lifting begins.
Apply it only after the sensor is on and settled, and make sure the overpatch does not cover any part of the sensor that your instructions say must stay open. Check what the sensor maker advises about covering it, since designs differ. Choose a breathable, skin-friendly patch rather than a thick plaster that traps heat.
In humid weather, press the overpatch edges down and smooth out any wrinkles, because water and sweat creep in through folds. If the edges begin to curl, trim away the loose part rather than pulling the whole patch off. Replace a soaked overpatch before it takes the sensor with it.
If you notice redness, itching or blistering under adhesive, remove the patch and talk to your doctor, because a skin reaction will cost you more sensors than humidity ever will.
Bathing, Swimming, Gym Sessions and Tight Clothing
Daily life puts more stress on a sensor than the weather does. Check your sensor's own water-resistance guidance before bathing or swimming, including how deep and for how long it can be submerged. Once you know the limits, you can plan around them.
For baths and showers, avoid hot water and strong jets aimed at the arm, and don't scrub the patch with soap or a towel. Pat the area dry gently rather than rubbing. After swimming in a chlorinated pool or the sea, rinse off and pat dry, since salt and chlorine weaken adhesive over time.
For gym sessions, treadmill workouts included, sweat and friction are the main enemies. Wear a sleeve or a breathable arm band that covers the sensor without squeezing it, and wipe sweat around it rather than over it. Avoid weight machines or exercises that press your upper arm against a bench.
Tight sleeves, blouse seams, kurta cuffs and backpack straps can catch the edge of the patch and peel it back with each movement. Choose looser sleeves on sensor days and take care when pulling tops over your head. Most knocks happen while dressing, not while sleeping.
Claiming a Replacement When a Sensor Fails Early
Even with perfect technique, some sensors fail early because of an application error, a faulty unit or a dead signal. Don't throw anything away at first. Keep the sensor, applicator and packaging, note the date and time of application and failure, and take clear photos of the sensor, the adhesive and any error message on the app or reader.
Then contact the seller or the manufacturer's support channel quickly. Replacement policies vary, and many separate a sensor that malfunctioned from one that simply fell off, so ask what your case qualifies for. Be factual: describe when it was applied, what the site and prep were, and what happened.
Where you bought matters here. Support teams usually ask for an order record, batch details and proof of the product's origin, so it helps to understand why sensors bought from verified sellers are easier to replace. A sensor from an unclear source can leave you with no one to claim from.
Keep a simple log of each sensor with its date, site and outcome. A record of repeated early failures also helps you show a pattern if you need to escalate.
How Lost Sensors Add to Your Running Costs
A CGM is not a one-time purchase, because sensors are replaced on a cycle, and each early loss resets that cycle. Prices across this category run from ₹2,000 to ₹18,000, with an average of ₹4,500. Whatever you pay for a sensor, every one that detaches early means paying again for days of wear you never got.
The effect is easy to underestimate. If you lose one sensor in every few, your effective cost per day of wear rises noticeably, and in a hot, humid city that can happen more than occasionally. It is worth seeing the extra monthly spend when sensors detach early set against your normal monthly budget, instead of looking at the sticker price alone.
The budget tiers, under ₹3,000, ₹5,000 and ₹10,000, are a useful reference for how much room you have. A lower-cost tier leaves less room to absorb losses, so prevention habits such as skin prep and an overpatch pay for themselves quickly. Spending a little on adhesive support is almost always cheaper than replacing sensors.
Ownership Habits Worth Weighing Before Your Next Sensor
Good adhesion comes from a few repeatable habits rather than a single trick. Choose the site carefully, prep the skin cleanly, let it dry fully, use an overpatch in sweaty seasons, and rotate arms. Log every sensor so you can see whether failures cluster around summer, monsoon, gym days or one particular arm.
If you still lose sensors regularly despite all this, the problem may be a mismatch between the sensor's adhesive design and your skin or climate, not your technique. That is the point to go back to rechecking sensor choice when adhesion keeps failing in your climate, and compare options with your actual losses in mind. Ask your doctor or diabetes educator as well, especially if you see skin reactions.
Buy sensors from a source that can support a replacement claim, and keep the paperwork. Make the decision on what you actually experience over a few cycles, not on one bad week.
Keeping a CGM sensor on through Indian heat and monsoon comes down to a sensible arm site, clean dry skin, an overpatch when you sweat, care during baths and workouts, and records that support a replacement claim. Follow that routine for a few cycles and you will know whether adhesion is a technique problem you have solved or a product fit problem worth revisiting.
Comments
Be the first to comment.