Owning a Gaming Chair: Assembly, Cleaning and Replacement Parts
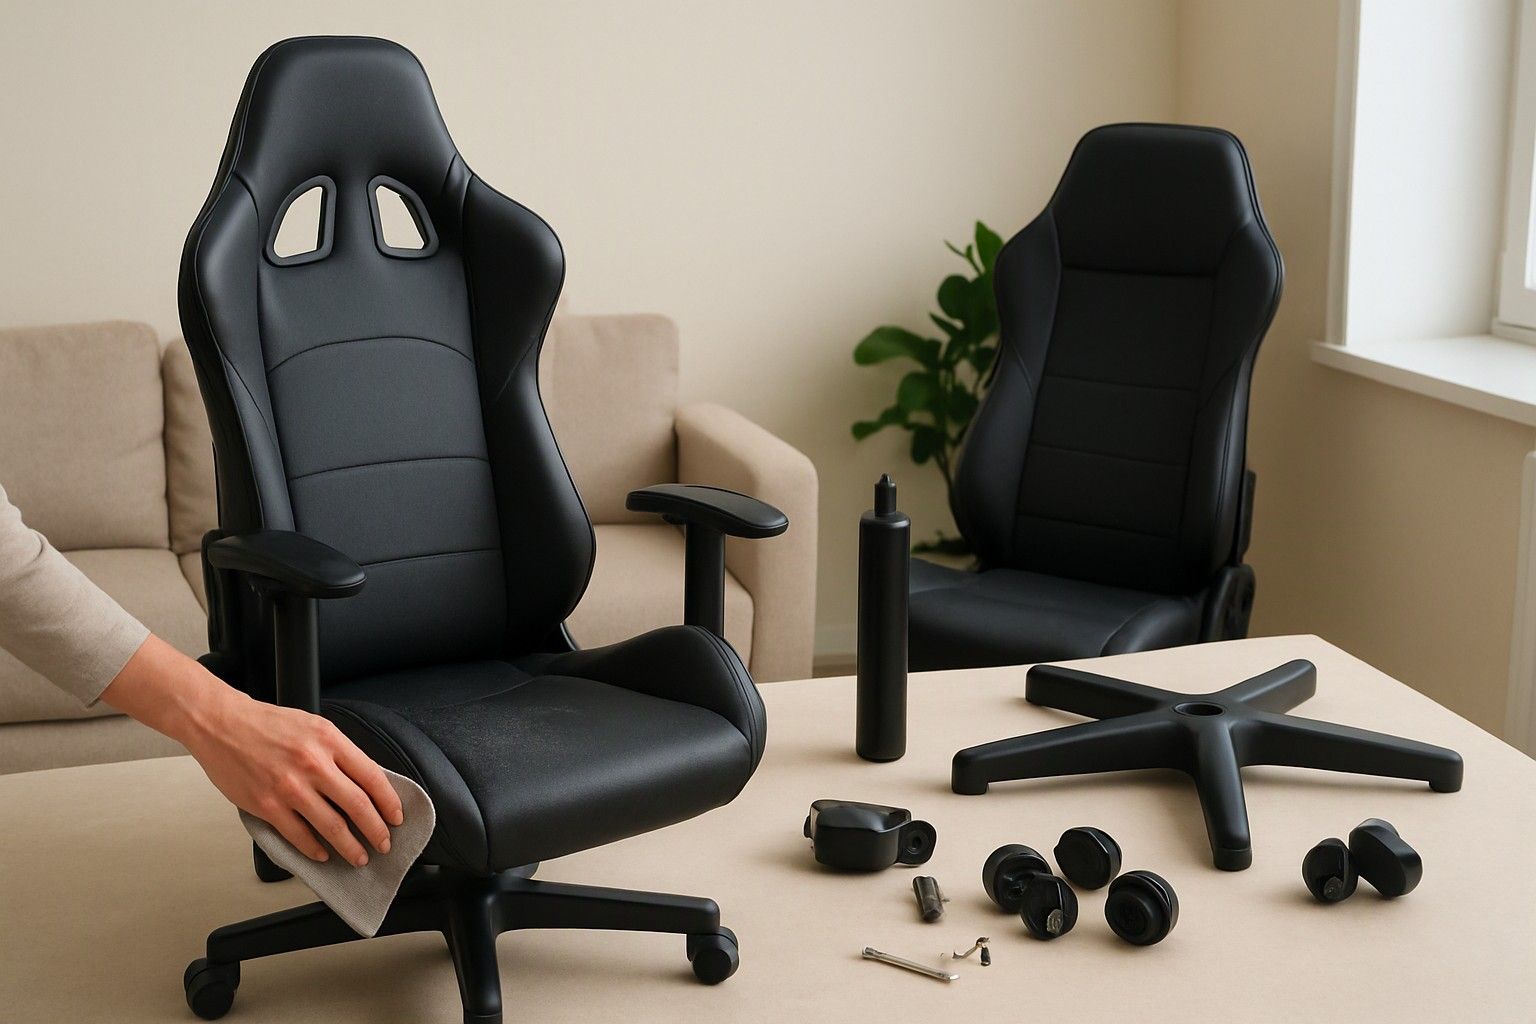
A gaming chair arrives as a box of parts, and within a year or two the gas lift, casters and upholstery start asking for attention. This guide is for anyone who has just unboxed one, or whose chair is already sinking, peeling or squeaking, and wants to know how to assemble it, clean it and fix it. It also tells you which parts wear out first, so you know what to watch.
Self-Assembly vs Paid Installation
Most gaming chairs are designed for one person to put together with the tools in the box, and a first-timer should plan for roughly an hour or two. A second pair of hands helps when you lift the seat onto the base and attach the backrest, because that is where people strip threads or pinch fingers.
If you go the DIY route, work in this order:
- Lay out every part and match it against the parts list before you start. Missing bolts are far easier to raise with the seller on day one.
- Press the casters into the base and slot the gas lift into the centre of the base.
- Fix the seat plate to the seat, then fit the seat onto the gas lift.
- Attach the backrest and armrests, keeping every bolt loose until all of them are in place, then tighten fully.
- Sit down once to seat the gas lift firmly. Never hammer it in.
Paid installation makes sense if you have no one to help, the chair is heavy, or the seller offers it free with the purchase. Ask before ordering whether a technician visit is included and whether it is billed separately. Whichever route you choose, record a short unboxing video and check for dents, cracks and scratches before discarding the packaging, since damage claims are far smoother with proof.
Cleaning PU Leather and Fabric Through Monsoon and Dusty Seasons
Indian conditions are hard on upholstery in two opposite ways. Monsoon humidity encourages mildew and makes PU leather sticky, while the dry, dusty months leave a fine film that works into seams and fabric weave.
For PU leather, wipe weekly with a soft cloth lightly dampened with water and a drop of mild soap, then dry it right away with another cloth. Skip alcohol, bleach, thinners and household floor cleaners, since they strip the surface coating and speed up the cracking and peeling that no cleaner can reverse. During the monsoon, keep the chair away from damp walls and open windows, and let a fan or AC keep the room air moving.
Fabric needs a different routine. Vacuum it with a soft brush attachment every week or two to lift dust and hair. Spot-clean stains with diluted mild detergent, blot instead of scrubbing, and dry the seat in shade with airflow. A damp fabric seat left in a closed room is how musty smells start.
If you are still deciding on a material, picking an upholstery that is easier to maintain is worth settling before you buy, because cleaning effort differs a lot between them.
When the Seat Starts Sinking: Replacing the Gas Lift
A seat that slowly drops while you sit, even with the height lever released properly, is the classic sign of a worn gas lift. The sealed cylinder has lost pressure, and it will not recover. First rule out simpler causes: a loose seat plate or a lever that is not fully engaging can mimic the problem.
If the chair is still within warranty, raise a claim before opening anything up, since the cylinder is a part many brands will replace. Otherwise, replacing it is a manageable job.
- Measure the old cylinder's length and diameter, and note its extended and collapsed height, so the replacement fits your base and seat plate.
- Turn the chair over, remove the base from the seat plate, and tap the cylinder out of the base using a rubber mallet. Gloves help.
- Slide the new cylinder into the base, refit the seat on top, and sit down to lock it in.
Never keep using a failing lift at its highest setting, as a sudden drop can jar your back. Once you have gone through one replacement, you will appreciate what separates a long-lasting gas cylinder from a weak one when you pick your next chair.
Casters, Armrest Pads and Cushions: Common Replacements
These are the parts that wear out through daily contact, and most are cheap and simple to swap.
Casters. Wheels pick up hair, thread and grit, which wind around the axle and make the chair drag or squeak. Pull them off and clear the axle before assuming you need new ones. If they are cracked or flat-spotted, measure the stem on the old caster before buying replacements. On tile, marble or wood, softer rubberised wheels roll quieter and scratch less than hard plastic ones.
Armrest pads. The top surface usually peels first, especially on PU leather, because hands and elbows rub it constantly. Check whether the pad unscrews from the armrest and whether loose replacement pads are sold for your chair. If not, a snug-fitting cover is a practical stopgap.
Headrest and lumbar cushions. Foam flattens and elastic straps lose their grip over time. Generic replacement cushions or a new strap often solve the problem without touching the chair body.
Before ordering any part, photograph the old one with a ruler beside it and send it to the seller, so you do not receive something that nearly fits.
Making Warranty Claims and Finding Service Support
Warranty is only useful if you can prove the purchase and the defect. Keep the invoice, whether paper or an emailed copy, and save the order screenshot along with the product page showing the warranty terms.
Read what is actually covered, because terms usually differ by component. Frames, gas lifts, upholstery and casters are often treated separately, and upholstery peeling is frequently classed as wear rather than a defect. Ask the seller directly about this before you buy, and get the answer in writing. Staying within the stated weight limit also matters, since overloading is a common ground for rejection.
When something fails:
- Record a short video showing the fault, with the chair's label or serial number visible.
- Contact the seller or the brand's support through the channel on your invoice, and note the date and any ticket number.
- Ask whether the fix is a technician visit, a replacement part posted to you, or a full return, and how long each takes.
- If you bought through a marketplace, use its return or replacement window quickly, since it is easier to use than a brand claim later.
Also ask whether spare parts are sold separately. A brand that sells casters, cylinders and pads is far easier to live with than one that tells you to buy a new chair.
Letting Upkeep Shape Your Next Purchase
Everything above points to a simple idea: judge a chair by how easy it is to keep running, not just by how it looks on day one. Gaming chairs in this category run from ₹5,000 to ₹35,000, with an average around ₹8,000, and the cost of ownership does not scale neatly with the sticker price.
At the lower end, in the ₹6,500 range, upholstery and cylinders are often the first things to fail, so spare-part availability and a clear warranty matter even more. In the ₹8,500 band, you can reasonably expect better-documented warranties and sellers who stock replacement parts. In the ₹20,000 band, look for serviceable, standard-fit components instead of assuming a higher price removes the need for upkeep.
Before you commit, check that the seller offers installation or clear assembly guidance, that replacement parts are available, that the warranty names each component, and that the upholstery suits your climate and cleaning habits. Buying with those answers in hand is more useful than holding out for a different price. For the full process, see the upkeep-aware way to shortlist a gaming chair.
You now have what you need to put a gaming chair together, keep its upholstery in shape through humid and dusty months, replace a sinking gas lift, swap worn casters and pads, and raise a warranty claim with proof. The parts that wear out first are the upholstery surfaces, casters and gas lift, and you know which of those you can fix yourself and which to send back to the seller.
Comments
Be the first to comment.