AC Installation in India: What 'Free Installation' Covers and Which Charges to Question
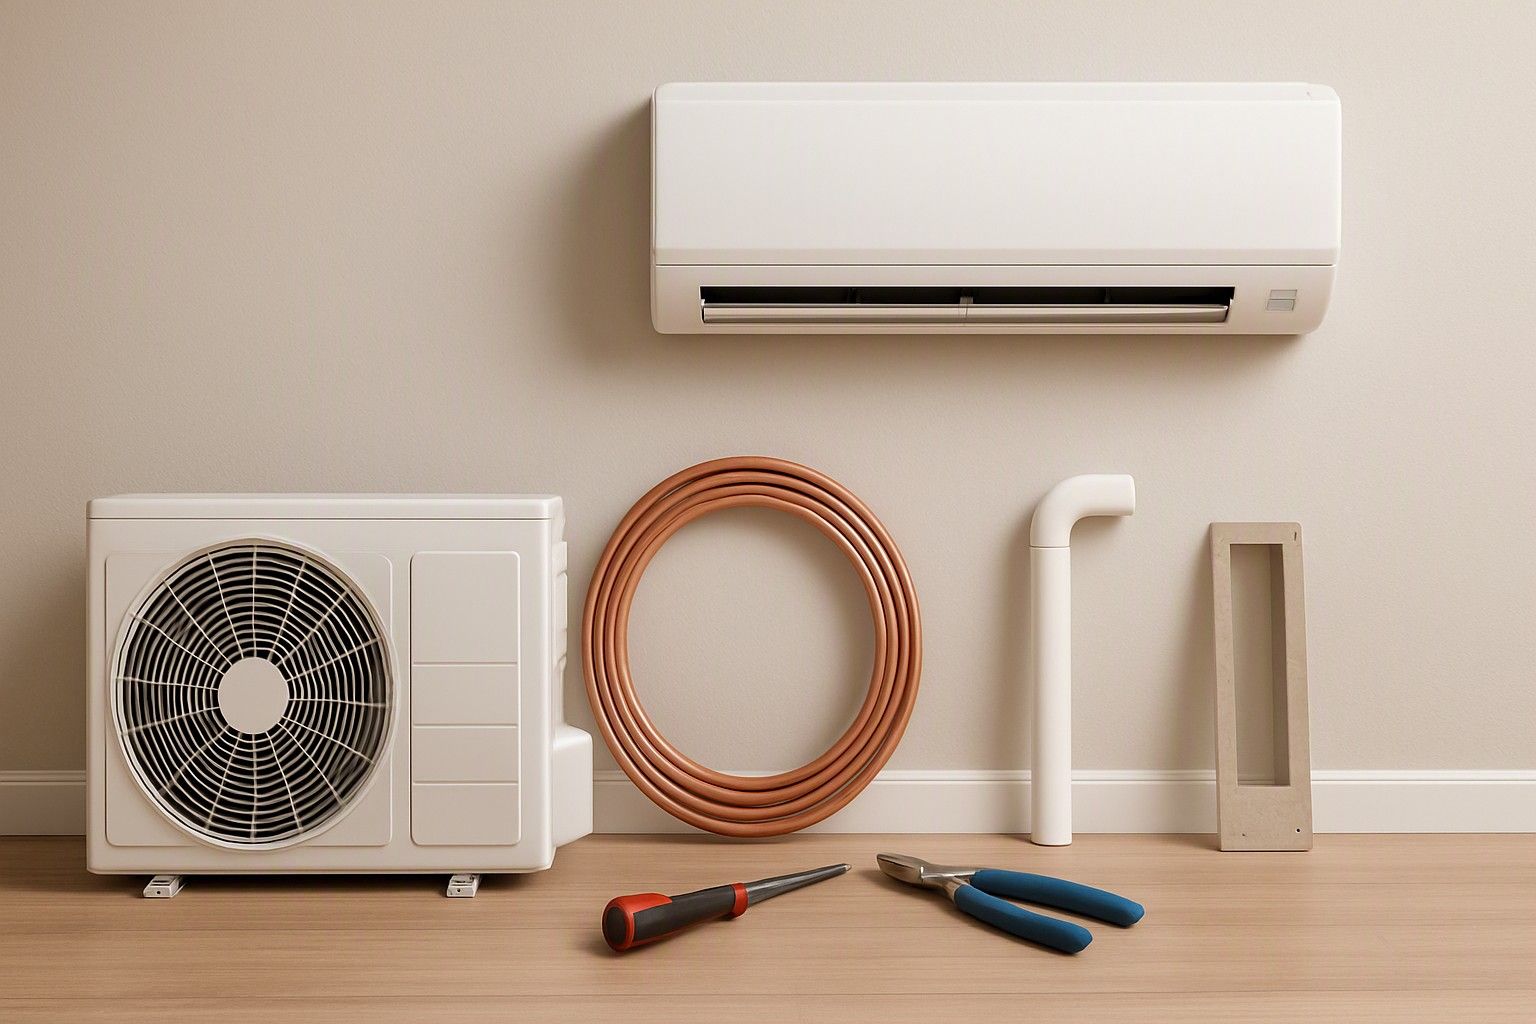
If a dealer or brand has promised "free installation" and you want to know what extra charges will still turn up on the day, this article is for you. In most Indian homes, free installation covers only the basic job: mounting both units, connecting a short pipe run and testing the AC. Pipe length, an outdoor stand, drain routing and electrical fixes are where the bills usually start. Read this before you pay for the AC, so you can ask the right questions while you still have the leverage.
What Free Installation Usually Includes
Free installation is a standard visit, not a custom job. It generally means a technician mounts the indoor unit on a wall bracket, places the outdoor unit on a surface or brackets that are already available, connects a short run of copper piping, joins the electrical and drain connections, and runs a test to confirm the AC cools.
The word to watch is "standard". Brands and dealers define it by a fixed pipe length (often a few feet or around 3 metres, but check the exact terms for your brand and dealer) and by a basic wall-mount setup. Anything that goes beyond that definition is billed as an add-on, and the technician is usually the one quoting it on the spot.
Before buying, ask for the free-installation terms in writing, on the invoice or in a message. Specifically ask what pipe length is included, whether the outdoor stand or brackets are included, whether drain piping is covered, and whether the technician will drill through the wall at no charge. A clear list turns a vague promise into something you can hold the installer to, and it makes the extra-charge conversation on installation day far shorter.
Extra Copper Piping, Outdoor Stand and Drain Pipe Charges
These three items account for most of the add-on charges buyers get surprised by, so it helps to know why each exists.
Extra copper piping. If the distance between your indoor and outdoor units is longer than the included length, you pay for the additional piping, usually charged per foot or per metre. Ask for the rate before work begins, and ask the technician to measure the run with you. Insulation and the electrical cable that travel along with the pipe are usually part of that per-foot rate, but confirm this rather than assume it.
Outdoor stand. If your outdoor unit cannot sit on a ledge or slab, it needs a bracket or stand. This is a genuine cost, since a wall-mounted unit carries weight and vibration. Ask what the stand is made of and whether it is rust-resistant, because coastal and monsoon-heavy areas corrode cheap metal fast.
Drain pipe. The indoor unit sheds water, and it has to go somewhere. A short drain run is normally included, but a longer one, or one that has to reach a balcony drain or a far-off outlet, may be charged extra.
For all three, get a quote per item before the technician starts. Paying per item is easier to compare than a single lump sum.
Placing Indoor and Outdoor Units for Cooling and Service Access
Where the units go matters as much as what you pay, and a technician in a hurry may pick whatever is quickest.
For the indoor unit, aim for a spot where the airflow reaches the main seating or sleeping area without being blocked by a wardrobe, a curtain or a beam. Avoid placing it directly above the bed or sofa where the draught will hit you. Leave clear space above and around the unit so air can circulate and the filters can be pulled out easily for cleaning.
For the outdoor unit, the priorities are airflow and access. It needs open space to throw out hot air, so a cramped shaft or a nook with a wall right in front will make the AC work harder and cool less. Keep it out of direct afternoon sun where you can, and make sure it is reachable. A unit installed on a precarious ledge with no safe footing is a service problem waiting to happen, because technicians may refuse to work on it or charge extra for the risk.
Walk through the placement with the technician before any drilling starts. Agree the spot for both units, and check the pipe route between them, since a poor location often means more piping and a higher bill.
Electrical Readiness: Wiring, MCB and Socket Rating
A good installation can still go wrong if the home's electrics cannot support the AC. The unit should run on its own dedicated line, with a properly rated MCB and a socket or connection point matched to the AC's requirements. Your AC's manual states the rating it needs, and the capacity matters, since a larger AC draws more current than a smaller one. Do not rely on the old wiring that runs a fan and a few lights.
Check three things before installation day. First, whether the wire gauge feeding the AC point is thick enough for the load. Second, whether an MCB dedicated to the AC is present at the distribution board. Third, whether the socket and plug are firmly rated and in good condition, since loose or overheated plugs are a common fault. If any of these fall short, you will need an electrician, and that is a separate cost from installation.
Voltage fluctuation is the other half of electrical readiness. If your area sees frequent dips and surges, read about stabilizer and voltage requirements for your area before you decide what protection to add. Solving this before the AC arrives is cheaper than fixing a damaged compressor later.
Red Flags: Gas Top-Ups at Install, Reused Pipes and Unbranded Parts
Most installers are honest, but a few practices should make you stop and ask questions.
Gas top-up during a new installation. A new AC arrives with its refrigerant charge for the standard pipe length. A top-up is only justified if you are paying for additional piping beyond that length, and then it should be small and explained. If a technician says the gas is "low" on a brand-new unit with a standard pipe run, question it. It can point to a leak from poor connections, or to an attempt to bill for gas you do not need.
Reused pipes. Copper piping and insulation left over from an old AC can carry moisture, dirt and old oil into your new system, and the flare joints may be damaged. Insist on new pipe for a new AC.
Unbranded or unmatched parts. Thin, unlabelled copper, flimsy insulation, and cheap stands or cables all shorten the life of the installation. Ask what is being used and look at it before it goes in.
If any of these show up, you are entitled to pause the job and call the dealer or brand customer care. A reputable installer will explain the reason without pressure.
After Installation: Registering the Warranty and Booking the First Service
The job is not finished when the AC starts cooling. Before the technician leaves, check that the unit is running properly: cool air within a reasonable time, no water dripping from the indoor unit, no unusual vibration or rattling from the outdoor unit, and no loose connections at the plug.
Then ask for the installation or job sheet and sign it only after you are satisfied. Note the installation date, since warranty periods often count from it, and keep the invoice, the serial numbers of both units and the technician's contact details together in one place. Take photos of the installed units and the pipe route as a record.
Register the warranty with the brand as soon as you can, through its app, website or customer care number, rather than leaving it for later. Registration speeds up any claim, and some brands ask for it. If a first service or an installation check is offered, book it now. For the details on keeping the warranty valid once the AC is running, including who is allowed to service the unit and what can void cover, read that guide before you hire any outside technician.
Last Checks Before the Technician Arrives
A short checklist the day before saves arguments on the day itself.
- Confirm the terms. Have the free-installation inclusions in writing, including pipe length, stand, drain and drilling.
- Get rates in advance. Ask for the per-foot piping rate, the stand charge and any other add-on rate before work begins.
- Mark the spots. Decide where the indoor and outdoor units will go, and clear access to both.
- Check the electrics. Make sure the dedicated line, MCB and socket are ready, or have an electrician lined up.
- Check the building rules. If you live in an apartment, check with the society about outdoor unit placement, and whether there are rules for external work or timings.
- Be present. Stay for the installation, so you can check the materials and the placement yourself.
If you are still weighing models or sizes, go back to the pre-purchase checks that lead up to installation day, so the AC you have chosen suits both your room and your home's setup.
So, what extra charges should you expect? Mostly additional copper piping, an outdoor stand, longer drain runs and any electrical work the home needs. Everything else in a standard visit should already be covered, and a gas top-up on a new unit with a normal pipe run deserves a question. With ACs in this category priced from ₹21,990 to ₹89,990, and an average of ₹34,990, a written list of inclusions and per-item rates before the technician arrives is a small step that keeps the final cost close to what you planned.
Comments
Be the first to comment.