Dishwasher Installation in Indian Kitchens: Plumbing, Drain and Power Needs
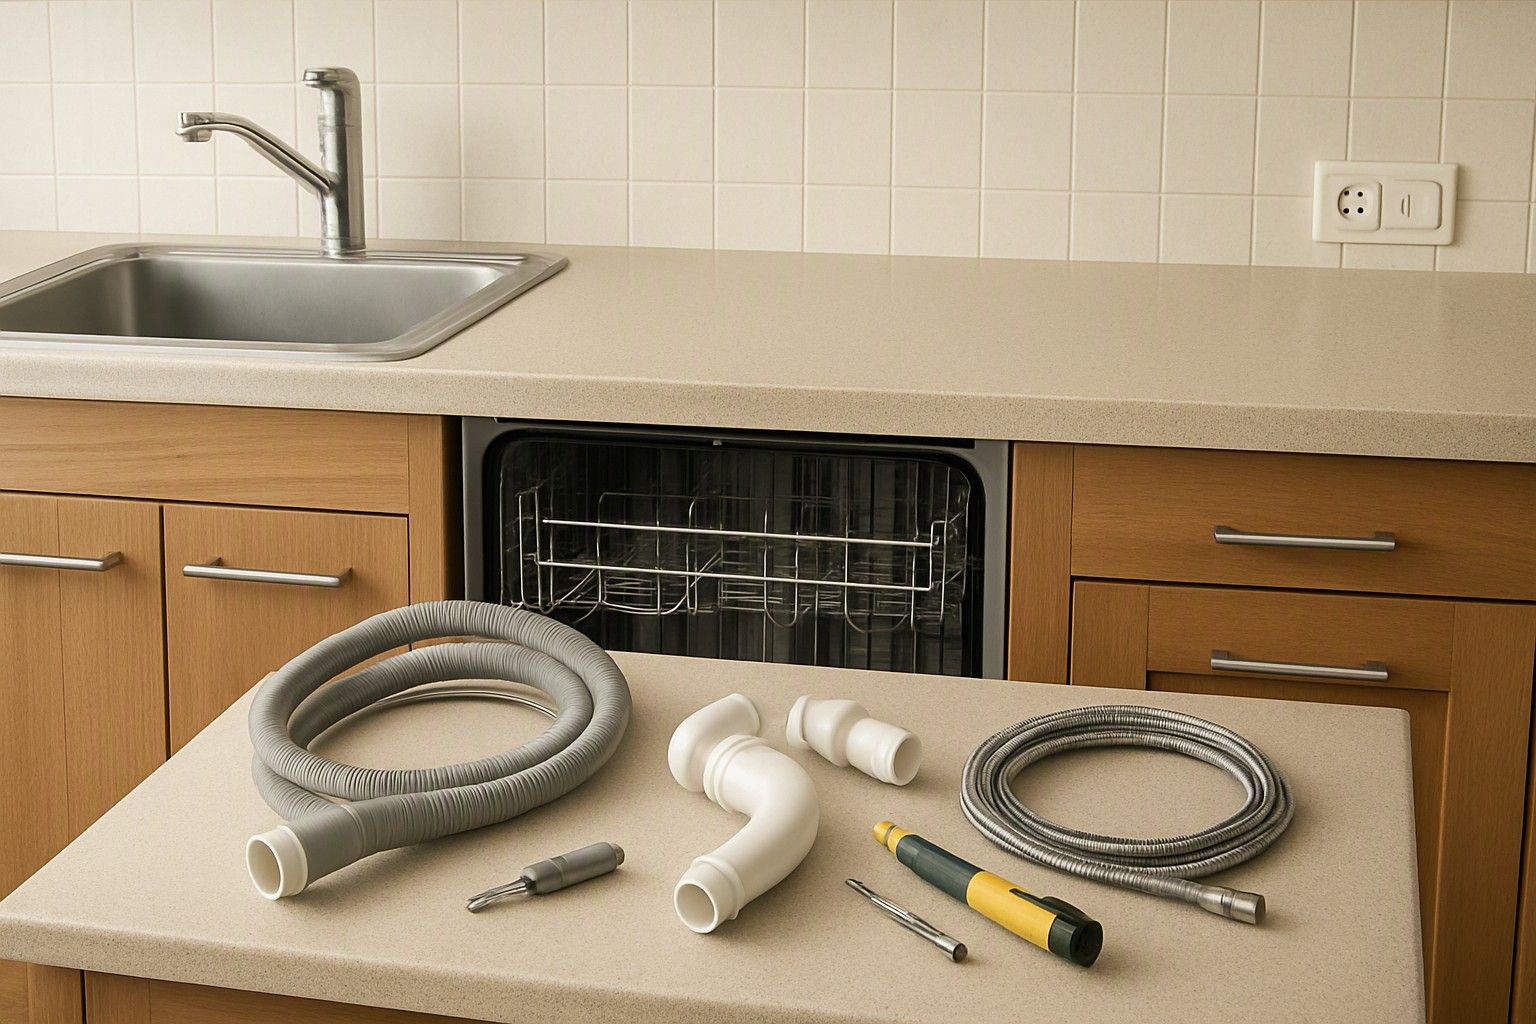
Before a dishwasher can be installed, your kitchen needs four things: enough clear space, a cold-water tap or inlet point, a way to drain into the sink waste, and an earthed power socket within reach. Most Indian kitchens can manage this without renovation, but overhead-tank pressure, sink layouts and unstable voltage are the usual trouble spots. This article walks through each requirement so you can check your own kitchen before you order.
Space and Clearance in Typical Indian Kitchens
Start with a tape measure, not a catalogue. Measure the width, depth and height of the spot you have in mind, then add room for the door to swing open fully and for the rack to slide out. A dishwasher that fits the gap but cannot open because it hits a gas stove, a fridge door or the opposite counter is a common regret.
Check the floor and wall behind the unit too. The inlet and drain hoses and the power cable all need room at the back, so a unit pushed flush against the wall can kink a hose and cause fill or drain errors. Leave a few centimetres of gap, or confirm the manual's stated clearance.
It also helps to place the machine close to the sink, since both the water supply and the drain are there. Many Indian kitchens are narrow galley or L-shaped layouts, and a spot next to the sink often means giving up a cabinet or a corner of the platform. Whether you need a gap in your cabinetry or only a free stretch of counter depends on the format, and sizing differs for freestanding, integrated and tabletop units, so settle the type before you measure for a final spot.
Water Inlet, Tap Connection and Pressure From Overhead Tanks
A dishwasher needs a dedicated water supply, usually a tap or angle cock that its inlet hose can screw onto. Most Indian households have a tap under or beside the sink, and that is typically where the connection is made. Check whether the tap has a standard threaded outlet, because a plain mixer spout will not take the hose. Confirm in the manual whether the model expects cold water only or can also take hot, since this varies.
Pressure is the quieter problem. Overhead tanks supply water by gravity, so pressure at a kitchen tap can be low, especially on upper floors or when the tank is nearly empty. Every dishwasher lists a minimum working pressure, and if your supply falls below it the machine may fill slowly, stop mid-cycle or show a water-fill error.
A simple test: open the kitchen tap fully and see whether it runs strongly enough to fill a bucket quickly, at different times of day. If it is weak, a small booster pump on the line is the usual fix, and it is better to know this before the installation visit than during it. Also check that the water supply is not switched off for long stretches, since the machine needs it available when you run a cycle.
Drain Hose Routing and Sink Connection
Used water has to leave through a drain hose, and in most kitchens that means joining the sink's waste line. Many sinks have a spigot or nozzle on the trap or waste pipe where the hose can attach. Others do not, and a plumber must fit an adapter or a small fitting for the hose to connect.
Three points decide whether the drain works well:
- Hose length: The drain hose is of limited length, so the machine must stay within that reach of the sink waste.
- Hose height: Manuals specify a height range for the hose run. A hose that sags low or sits too high can cause slow draining or water flowing back into the machine.
- No kinks or sharp bends: A trapped or squashed hose leaves water standing in the tub and triggers drain errors.
If the machine sits on the platform beside the sink, the hose can often loop up and over, which suits a gradual rise. For an under-counter spot, the hose is usually run through a cabinet cutout. Ask whoever installs it to confirm that the connection point is secured with a clamp, since a loose joint under the sink is a slow leak that goes unnoticed for weeks.
Power Socket, Earthing and Voltage Fluctuation
A dishwasher is a high-wattage appliance because it heats water and runs a pump, so it should have its own socket rather than sharing a multi-plug with a mixer, kettle or microwave. Look for a three-pin socket with a working earth connection, positioned where the cable can reach without being stretched, and ideally above the likely splash zone near the sink.
Earthing deserves a real check. Kitchens in older buildings, and some rented flats, have sockets where the earth pin is not actually connected. An electrician can test this in minutes, and it matters for safety around a machine that sits next to a wet sink. Confirm the socket's amp rating against what the manual states for the model.
Voltage fluctuation is the other local concern. Sudden dips or spikes can damage the control board or make the machine stop cycles and show errors. Check what the manufacturer recommends for your area. Where supply is unstable, a voltage stabiliser or protector suited to the machine's load is a reasonable step, but ask the brand which kind they advise rather than buying one at random. Avoid extension boards, which are a common source of overheating.
Installing Without Major Plumbing Changes
You do not necessarily need to open up walls or rework pipes. Countertop and freestanding units are designed to work with what most kitchens already have: a tap with a threaded outlet for the inlet hose and the sink for the drain. In some setups the drain hose simply hooks into the sink or onto its waste spigot, and the inlet hose connects to the tap through an adapter.
The easiest kitchens to install in share a few traits:
- The sink is within a short distance of the planned spot.
- A tap or angle cock with a standard thread is accessible.
- An earthed socket is already within reach of the machine's cable.
- The platform or floor is level and strong enough to hold a loaded unit.
If one of these is missing, the fix is usually small: a tap adapter, a drain spigot fitting, or a new socket point added by an electrician. Larger jobs, such as a dedicated drain line or a pump for a kitchen with poor supply, come up mainly when the machine must sit far from the sink. Choosing a spot near the sink and not the one that looks tidiest is often the single decision that avoids major work.
What the Brand Installation Visit Covers
Most brands send a technician to install the machine after delivery. Typically the visit includes placing the unit, connecting the inlet and drain hoses to the points you have prepared, plugging in, and running a test cycle to check for leaks and correct drainage. The technician will also usually walk you through the controls and the first-use steps.
What the visit usually does not cover is preparation work. Fitting a new tap, adding a socket, repairing earthing, installing a booster pump or modifying cabinetry generally falls to you, so confirm the scope with the brand or seller before the date. If the technician arrives and the kitchen is not ready, the installation may be postponed and you may need to pay for a repeat visit.
Be present during the test cycle and watch the connections for drips, then check under the sink again after a day. Many of the installation oversights that lead to leaks and error codes trace back to an unclamped hose, a kinked drain line or a weak water supply, all of which are easier to catch while the technician is still there.
Getting the Kitchen Ready
Work through a short checklist before the machine is delivered:
- Measure the space, including the door swing and the gap behind the unit.
- Confirm the tap or inlet point has a standard thread and that the water pressure is adequate through the day.
- Locate the sink waste connection and check whether a drain spigot or adapter is needed.
- Have an electrician verify the socket, its earthing and its rating, and ask about voltage protection if your supply fluctuates.
- Confirm with the brand what the installation visit includes and what you must arrange yourself.
These prep jobs are small next to the machine itself. Dishwashers across the category range from ₹25,000 to ₹80,000, with an average around ₹42,000, so a modest spend on a socket or adapter is easily justified for a purchase of that size, and you can decide with confidence once the kitchen is checked. For other kitchen and budget factors worth settling early, the main buying guide covers capacity, formats and the ₹28,000, ₹45,000 and ₹65,000 tiers.
If your kitchen has space around a spot near the sink, a tap with usable pressure, a drain connection you can reach and an earthed socket, a dishwasher can be installed without major work. Where one of those is missing, you now know which small fix to arrange before delivery day.
Comments
Be the first to comment.